Showing posts with label environment-art. Show all posts

Friday, August 29, 2014

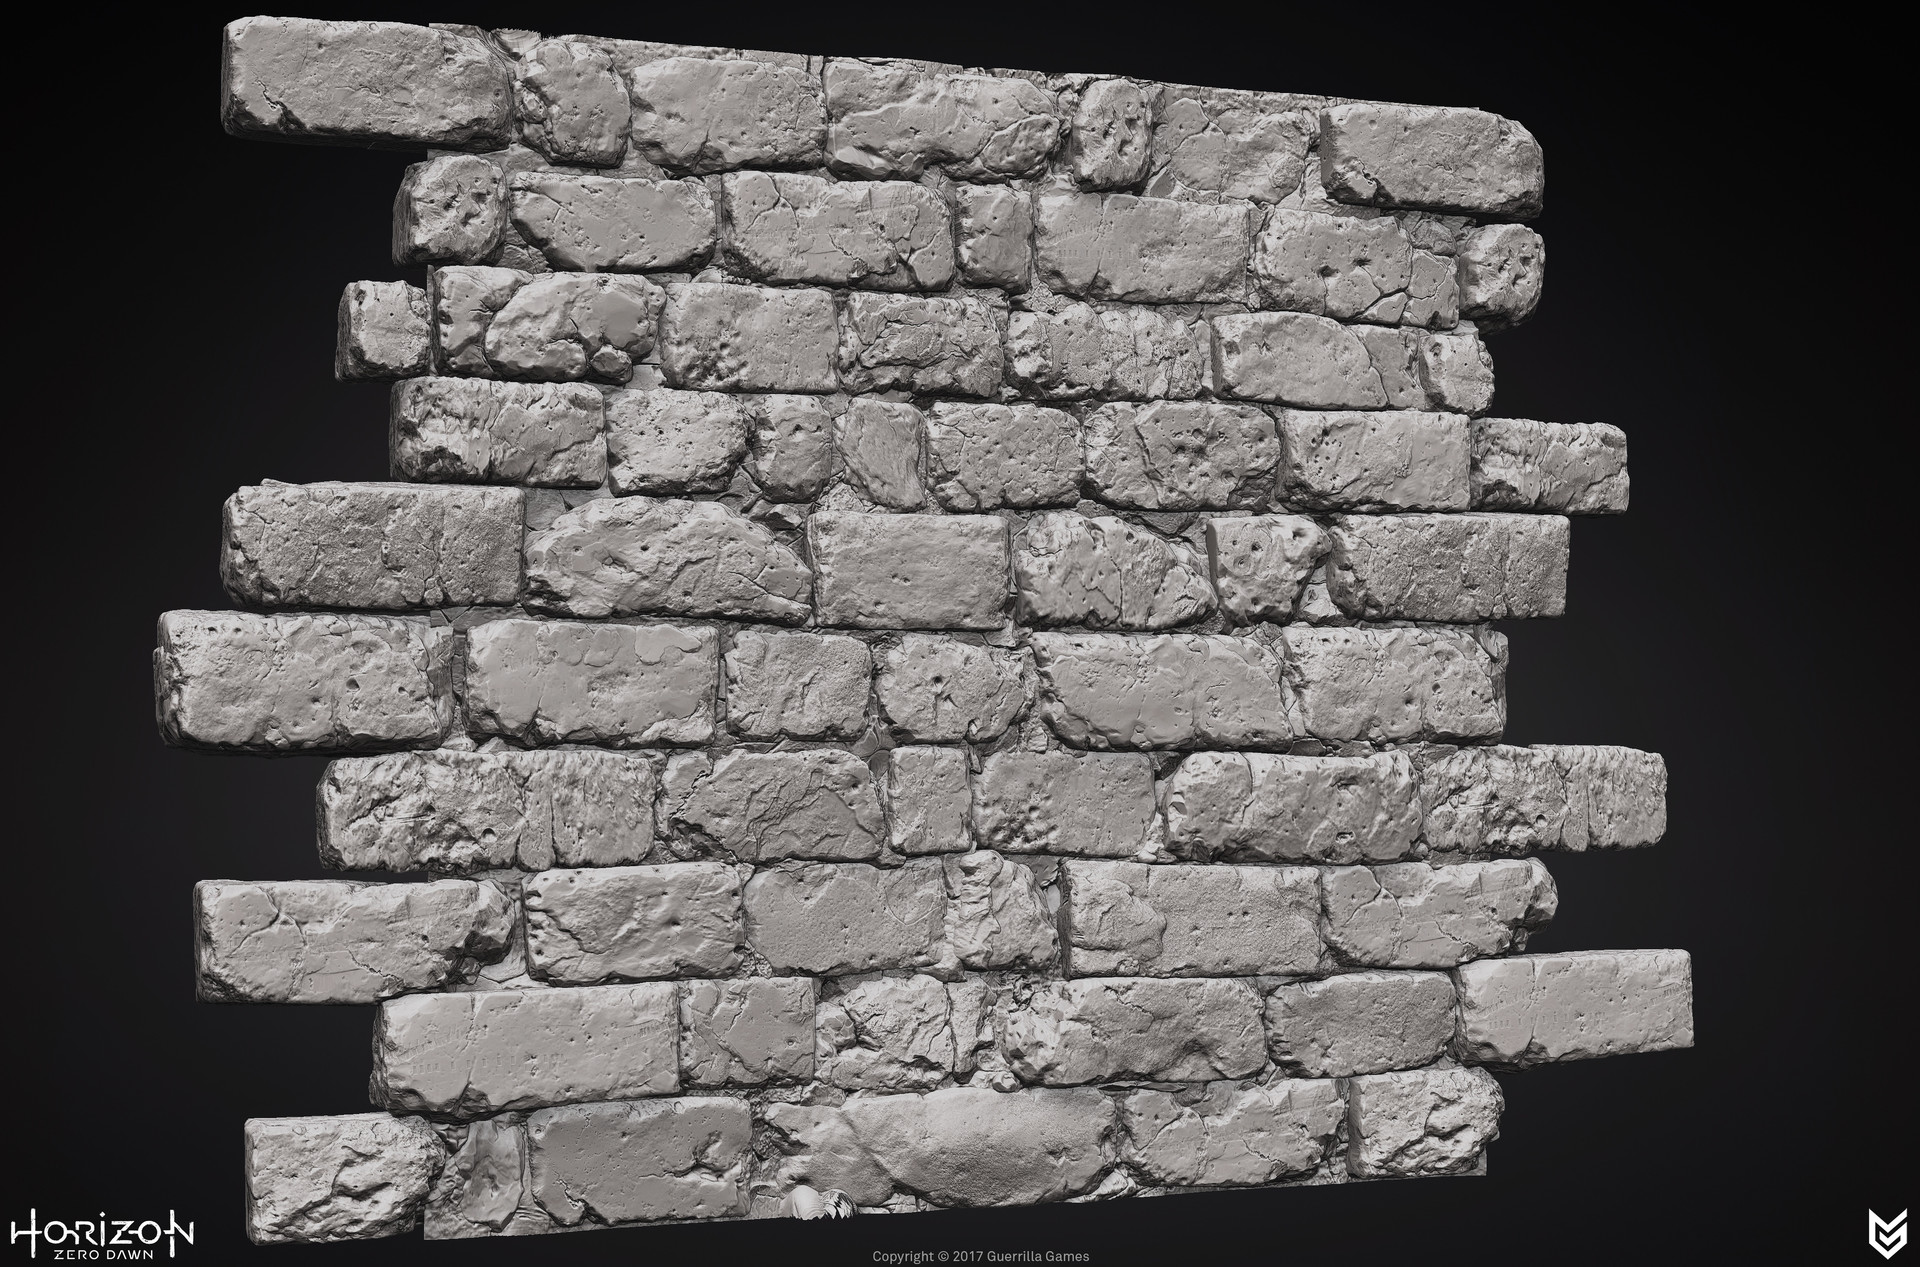
High Poly Brick Sculpting

Since my last post I've been working on these bricks while I was working on a different personal project. Kinda helped me to keep fresh eyes on the project by doing something else once every few days.

I was building a small library of different types of wall bricks.

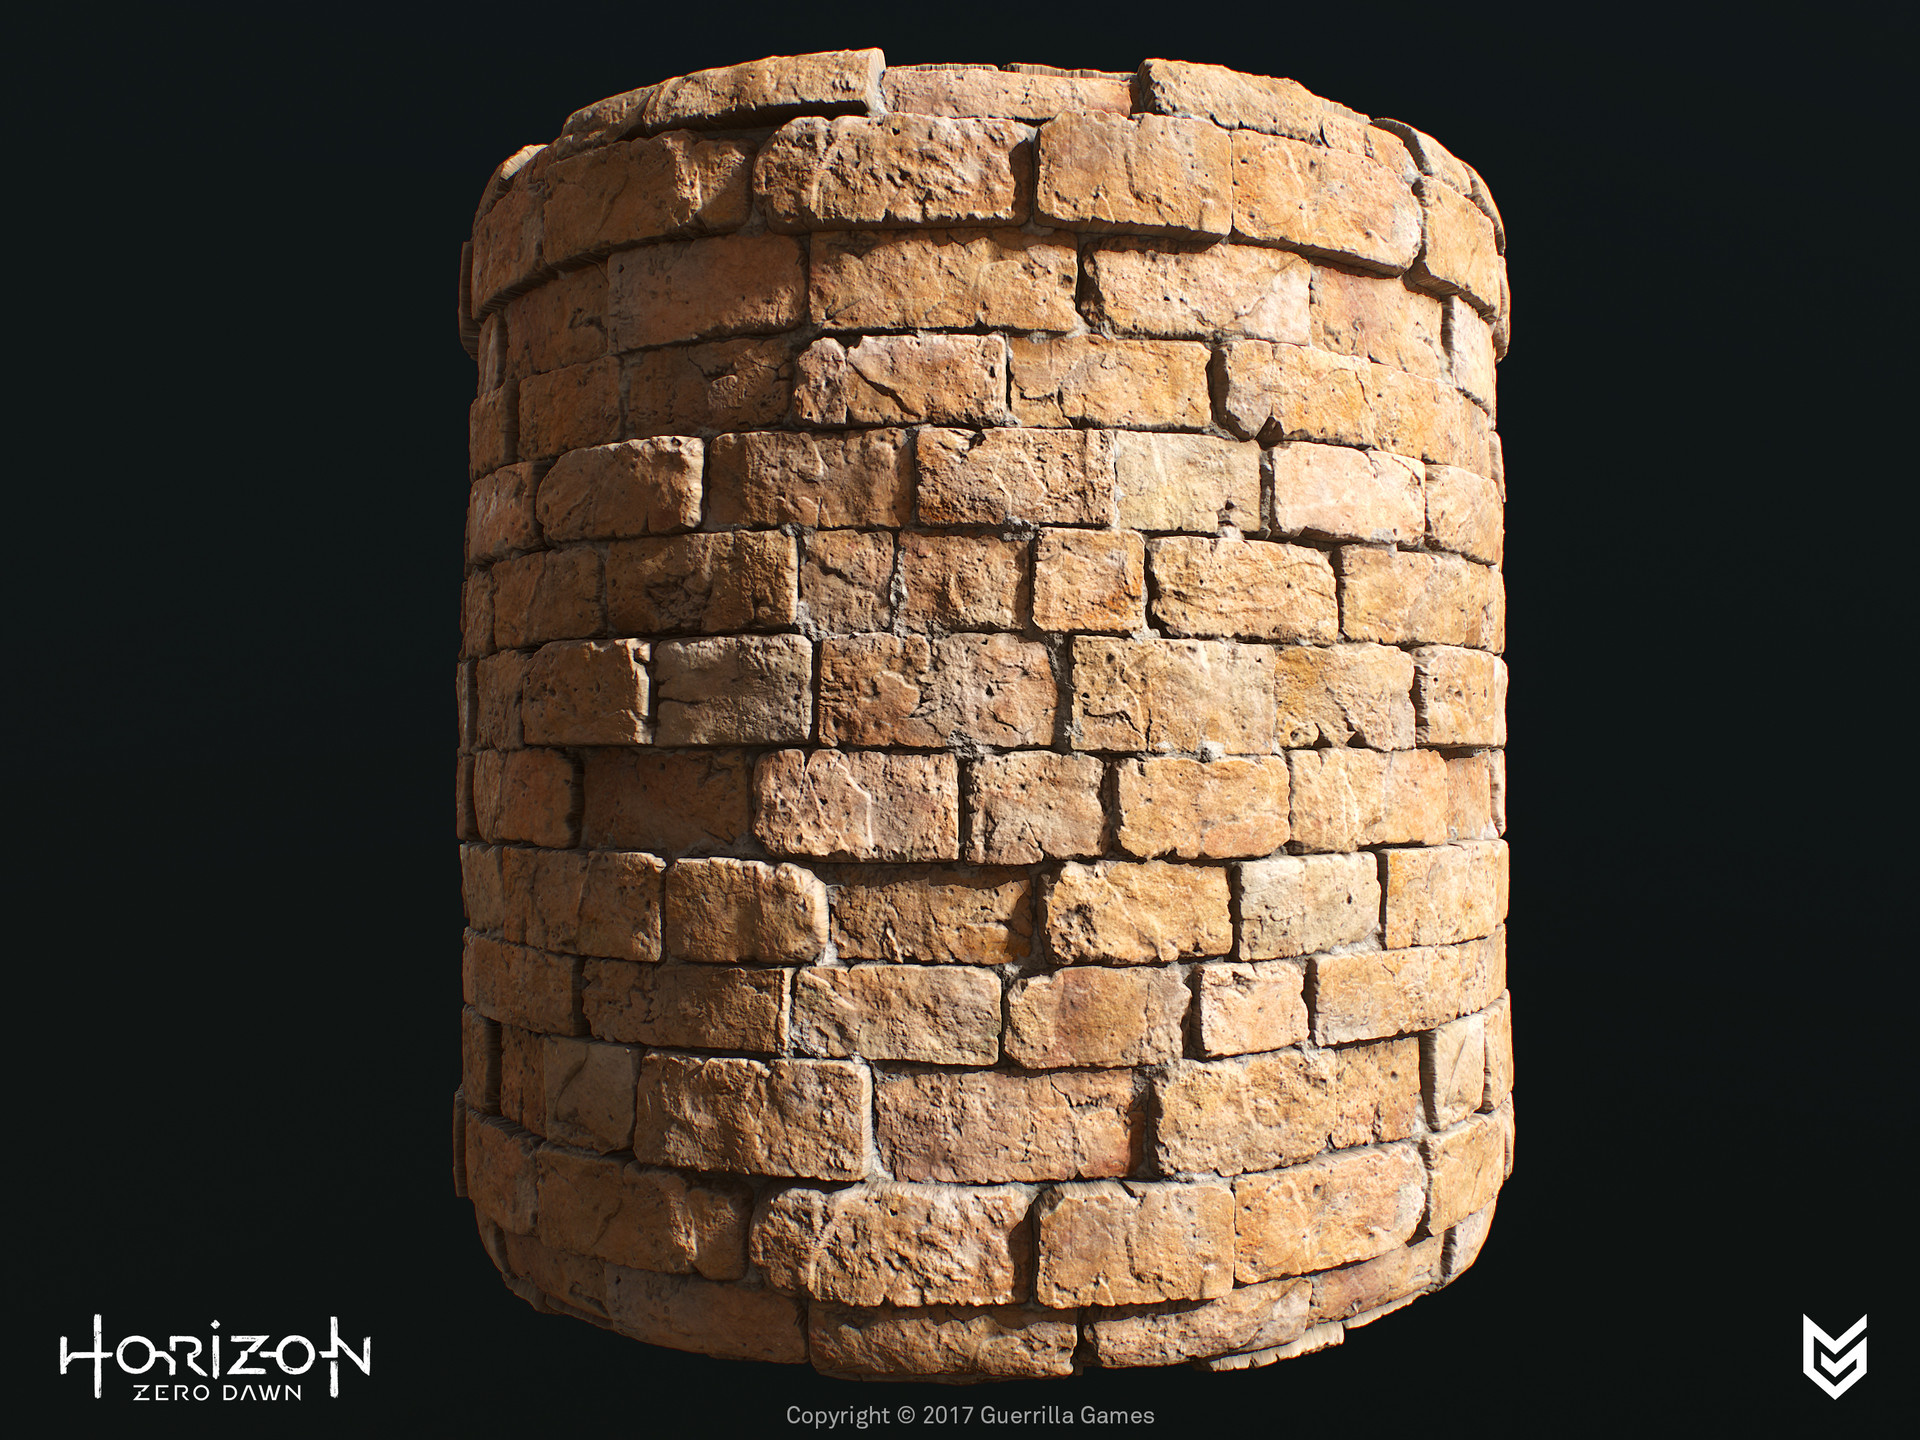
Two bricks from the previously shown set of bricks but with polypaint to test a bit of lookdev. 

Tuesday, February 25, 2014

February update

Small update on the new environment I'm working on, it's still in a pretty early phase but hopefully next time I'll be able to show it in game with some cool textures. ;)

Also you can find here other stuff I have been working on in my spare time; the low poly creature model baked to a 2k texture (not textured though). And I messed around with some 2D art as well!

Hope you like it,

Cheers,


Stefan Groenewoud
Environment artist


Wednesday, November 27, 2013

Textures & shaders

It's been quite a while since I wrote my last post and this time I'd like to show off my new experimentations with shaders for personal work and several textures I did for the awesome guys at Gametextures.com. This was a great opportunity to improve my workflow and experiment with several styles.

During my time of workflow improvement and texture skills improvement I have sculpted a few Insert Multi Mesh assets. For example this set of rocks.


Besides that I have worked on a new personal project but it's pretty much in the concept phase so that I'll have to keep for the next time. ;)

Please feel free to check out my breakdown/tutorial for creating this rain shader in UDK.

This shader is still Work in Progress, but the gif shows a clear idea of the shader in several states of wetness on the surface. But the main thing that got me stuck with this shader is the blending/animating of one wetness state into the other one, I want to create one state of wetness "flowing" into the next state of wetness. This is rather challenging for me mainly because of the fact that I'm not a programmer or shader artist by trade, so figuring this out is pretty crazy.

Friday, June 21, 2013

When Nature Reclaims The City pt. 2


Damn, I've been so amazed by a lot of new games that have been announced at E3 2013! My favorite at this moment probably is The Division, the amount of detail is insane and very inspiring. If only I could work on their team *hint hint to the guys at Massive, if they even read my blog*. Also got my hands on The Last of Us, amazing game I must say, great story writing, awesome graphics.

Last year I already worked on this environment but I didn't really had the time to work on it that much and also lost the motivation. Few weeks ago I had decided to finish this piece up and I am really curious what y'all think of the result. After seeing The Last of Us art dump I was a bit intimidated xD but heck I can really use the feedback to improve the scene.

Since the last update I had adjusted the light rig & color correction, car(s) have been modelled (not sure if I'll add the Bus as I had planned), added a few extra props to fill the scene, extra/better textures & shaders.

Note: I am using a few placeholders (the trees) from UDK

Thanks for your time!

Stefan Groenewoud
Freelance 3D-artist

I am just sharing my thoughts and interesting artwork to other artists out there. This blog is used for educational purposes and/or tracking of Stefan Groenewoud his personal work.


Two high poly screenies, couldn't find the others;


Wednesday, May 22, 2013

Post-Apocalyptic breakdown


Content
  • Crafting the idea
  • Reference
  • Lighting/Color correction
  • Detail shots

Crafting the idea
I had wanted to do a post-apocalyptic environment for a very long time, somehow I felt very overwhelmed and couldn't really choose which direction I should take it. I got very inspired to do this thematic environment because of Unreal Tournament 3, Gears of War series and lately a game I'm hyped about is The Last of Us. I always had a warm heart for “the beauty of destruction” but this time I really wanted to step up to the plate and just do it.
As I am writing this I must admit that I started to notice how much I have learned throughout the last couple of months, not just with texturing but also modeling, organization, shader creation and optimization.
During this breakdown it’s obvious to me that I could have used a more efficient workflow and I figured how I could improve this when I start a new project. Also I’ve become more daring to show off my work in progress, when I started the environment I wasn’t sure at all if it was a good idea or if fellow artists would like it at all.

I must say that all this knowledge doesn’t come out of nowhere, I’ve read whitepapers from other developers, I read books about lighting and composition.

Goals: Large post-apocalyptic environment, create detailed textures, lots of high poly asset sculpting, shader experimentation (environmental shader and screen shaders e.g. vignette effect, lens dirt), use DX11 features like Tessellation and IBR.

Timespan: I have been working on this project on and off for the last 6 months, in total I estimate I would have worked on it for 2-3 months. And it’s still on going with additional asset creation.

To do: Vehicles (Modeling/texturing a Taxi and Bus), re-adjust/improve additional buildings, perhaps a fly through video?

Reference
During the process I looked up a lot of reference just to establish the main idea or props that I felt would fit the scene. I’ve heard it isn’t always a good idea too just focus on videogame concept art but when I got inspired by The Last of Us it was hard stay away from this style.
When I started to work on the project I didn’t had in mind in which direction I wanted the environment to push. Later on you’ll see my starting point, where I just had been messing around with temporary meshes and started crafting a broken wall in UDK. From there I started looking for possible ideas and came with this post-apocalyptic city.


Tuesday, April 16, 2013

Mirror's Edge Shader Overview in UDK

Hey there!

It has been a while since my last blog post and I promised a few people I'd show off the breakdown of the materials being used in the Mirror's Edge stylized test renders in UDK. First off all, I'd like to point out that the shader is NOT final. Second, I'm just going to show it off this time so I probably won't revisit this when I have a scene modeled out whatsoever. Writing these articles takes a lot of time and hopefully it'll be appreciated ;)

AND I got great feedback from one of the Lighting Artists who had worked on Mirror's Edge! I totally didn't expect that and I really appreciate the feedback I've received. When I was going to post the Shader blog post I didn't expect anything to happen. But the opposite happened, my blogpost got shared plenty of times which was great because it was "just" a shader test.

And why it took so long to write my next article? I just finished up a few art tests, so keep your fingers crossed! It seemed like a good time to write it now. Anyways, I was also experimenting a lot with different shaders. I revisited my old sci-fi scene and created a new ocean shader. Exploring these different techniques is really fun in my opinion and it really intrigued me to go more in-depth with HLSL coding for example.

Revisiting old shader

New metal shader in action - This has vertex painted rust and scratches to add more unique looking details on the metal. This in combination with the DX11 settings in UDK can give a really nice effects showing off the reflections of the environment for example.

Shaders

What I did first was doing research! When exploring a different render/texture style, doing research is crucial. I've always loved the color usage in Mirror's Edge and I knew I wanted to show this off in my shader test. Also, I wanted to have the ability to create a shader that is specifically designed for a specific material definition. So I created a list of the following materials:
  • Concrete
  • Metal
  • Plastic
  • Tiles
  • Marble (optional)
  • Fabric

Concrete

The shader overview has straightforward commented areas, A = Diffuse, B = Specular, etc. For optimization sake, I made all the textures greyscaled and added a 3-vector param, With this I can add/tweak the colors and color-intensity of the textures. Orange can now be insanely bright, which you couldn't just create with a single texture node, cranking up the colors is essential to achieve these results. 

What I use mostly in my shaders is a Fresnel, it's not that expensive (anymore) to my knowledge. But what I learned from the guys at Chaos Group (V-ray creators), everything has Fresnel, it might be subtle but everything has it. So I did implement it in all of my materials but as a parameter so adjusting it would be easy.

Tip: Use paramaters instead of "hardcoded" values, tweaking Material Instances is very efficient and handy.

Metal


This is the most complex shader at the moment for the Mirror's Edge tribute. I'm not that happy with the shader itself, it's pretty messy and could be using better optimized textures. But the end result is rather good looking and convincing painted metal. I can't really go in depth with the shader, I do want to point out that I'm using DX11. This uses "image based reflections" and I added some cubemap reflections to add in the environmental reflections.

Sorry I didn't go in-depth with the shaders but please look at the setup and it should be pretty clear if you follow the structure.


Weapon scope study

I forgot to add in my weapon scope study ;) High Poly was all done in Zbrush, Low Poly in Max, Texturing in PS.


Games Photography Experimentation

Recently I started messin' around with photography within games, luckily Mirror's Edge happend to be one of the games where I could use the "freecamera" mode. Unfortunately in more recent games I didn't quit got this "hack" work just yet. One of the games I'd like to visit is Bioshock and Tomb Raider, those environments are gorgeous.

Sunday, March 10, 2013

Mirror's Edge shader tests

I did some UDK shader experimentation with the style from the game Mirror's Edge in mind. I tested the materials Indoor as well as Outdoor. This gave me a good understanding how the material might react. Keep in mind these are basic material tests, so for a real environment I'd take more time to texture individual assets for example.

Also, I've been working on my Post Apocalyptic environment, I didn't do any drastic changes with the composition but I am working on adding vehicles, extra buildings and small details to make the scene feel more "alive".

All colors can be tweaked with just one texture e.g. with a greyscale concrete texture I can create a red/green/blue one with the same shadersetup.

Reference Sheet


I might do a scene based on this shader study also all feedback is welcome!


Shader Testing


Part 2 of the indoor materials


Metal Shader Overview [WORK IN PROGRESS]
These are not the final settings of the metal mastershader but for testing the bounce light in UDK it was pretty handy. On assets within an environment, fine tuning the shaders would be easier in my opinion.


Tuesday, February 26, 2013

Post Apoca Update

Work in Progress - Another update on the Post Apocalyptic environment I'm working on. I've re-adjusted the roof and the broken concrete pieces on the floor. Besides that, I also tried to adjust the composition a bit so the viewers eye would be led through the composition. Also the shaders/textures have been modified/optimized, the lightmaps have been optimized and I enhanced the light setup.

After making the level run smoothly, I started adding collision and LOD's. Personally it felt really interesting to make a big level from start to finish and optimizing it. With that in mind, I do have a few extra props I need to finish. E.g. a car, extra vegetation, 2 extra buildings, water puddles with realtime reflections and perhaps a bus. It doesn't look like a lot of work but when you break down these things into seperate workloads it's going to take a lot of time.

Recently I had the question if I was going to make this a flythrough or a set of screengrabs. To be honest, I don't feel like doing a flythrough since I have been spending a lot of time on this project already. I do like the idea but I might have to do a shit load of extra buildings to make it look like a dense city.

Don't forget to drop a comment!


Stefan Groenewoud
Freelance 3D-artist

I am just sharing my thoughts and interesting artwork to other artists out there. This blog is used for educational purposes and/or tracking of Stefan Groenewoud his personal work.

Monday, February 11, 2013

Art dump pt.2 - What I Did This Winter

Quick post

 
Wall Ornament with test shaders.


Wall Ornament with Final shaders.

 
 Mirror also with final shaders.

Torso Re-do

 
 Beach Scene W.I.P. - I was working on this scene when my PC broke, so I'll be revisiting this one later on.


Z-brush hardsurface study

Cheers,

Stefan Groenewoud
Freelance 3D-artist

I am just sharing my thoughts and interesting artwork to other artists out there. This blog is used for educational purposes and/or tracking of Stefan Groenewoud his personal work.